
Reader Review
Rock Shox MegNeg Review
Words & Photos by Calum Laidlaw
Rock Shox recently released their updated suspension products for 2020 and one of the new components that caught my eye was the MegNeg air chamber. The unit creates a negative air spring with twice the volume of the factory can and also adds the ability to tune the negative spring. By tuning the negative spring, riders can alter how the shock feels under initial compression as well as mid-stroke support too. The RockShox MegNeg also claims it will offer improved bottom out resistance with the use of less tokens.
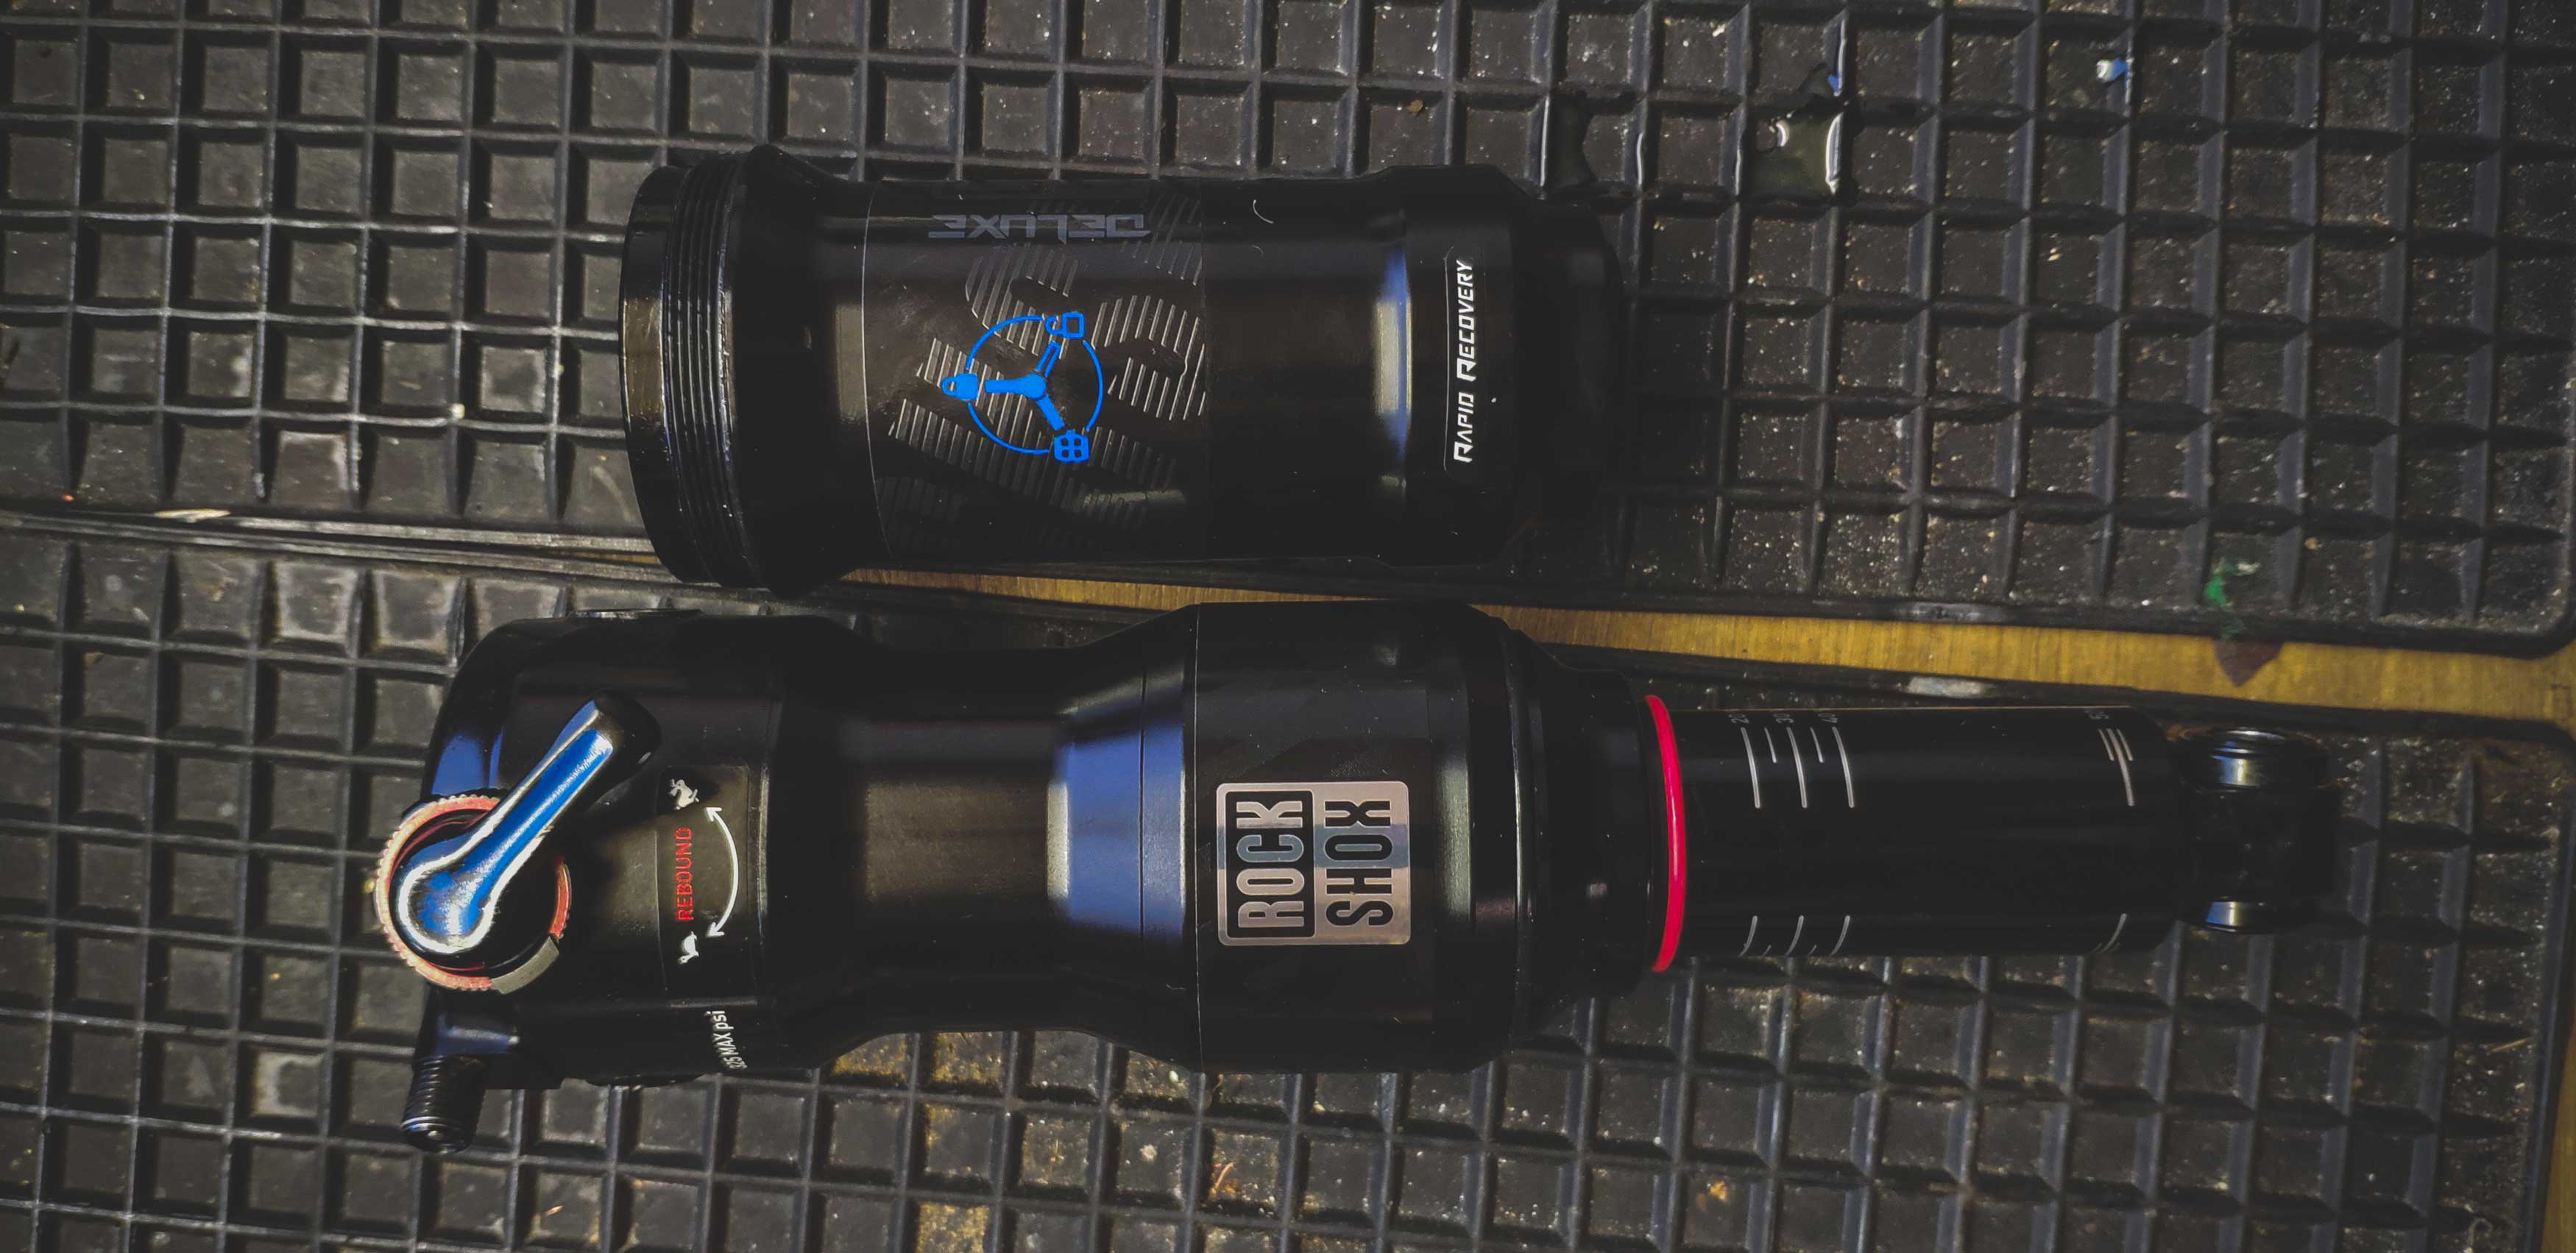
Currently I’m running a Rock Shox Deluxe RC3 on a 2018 Vitus Escarpe 27.5. During my time riding the bike I’ve found the suspension to be very linear, so much so that it’s stuffed to the brim with volume spacers, one Gnardog and two normal tokens, equating to 4.5 tokens overall. For reference, with my riding gear I weigh 172lbs and I aim for 25% sag with 185 psi and 0 clicks of rebound. Having recently received the MegNeg I was excited to see if the claimed progression from the can would finally give me the feeling I was looking for.
The RockShox MegNegLab
The MegaNeg’s larger negative air chamber is designed to counteract the static pressure exerted from the positive air chamber. If you’ve ever inflated your shock to your normal pressure without compressing it while inflating, you’ll find that it takes a huge amount of force to break the stiction without balancing the negative side. The larger negative volume allows the chamber to exert a balancing force through a higher percentage of the shock’s stroke, which results in a lower force to begin the compression of the shock. This offers better traction at the rear wheel because the tire can track undulations in terrain much easier.
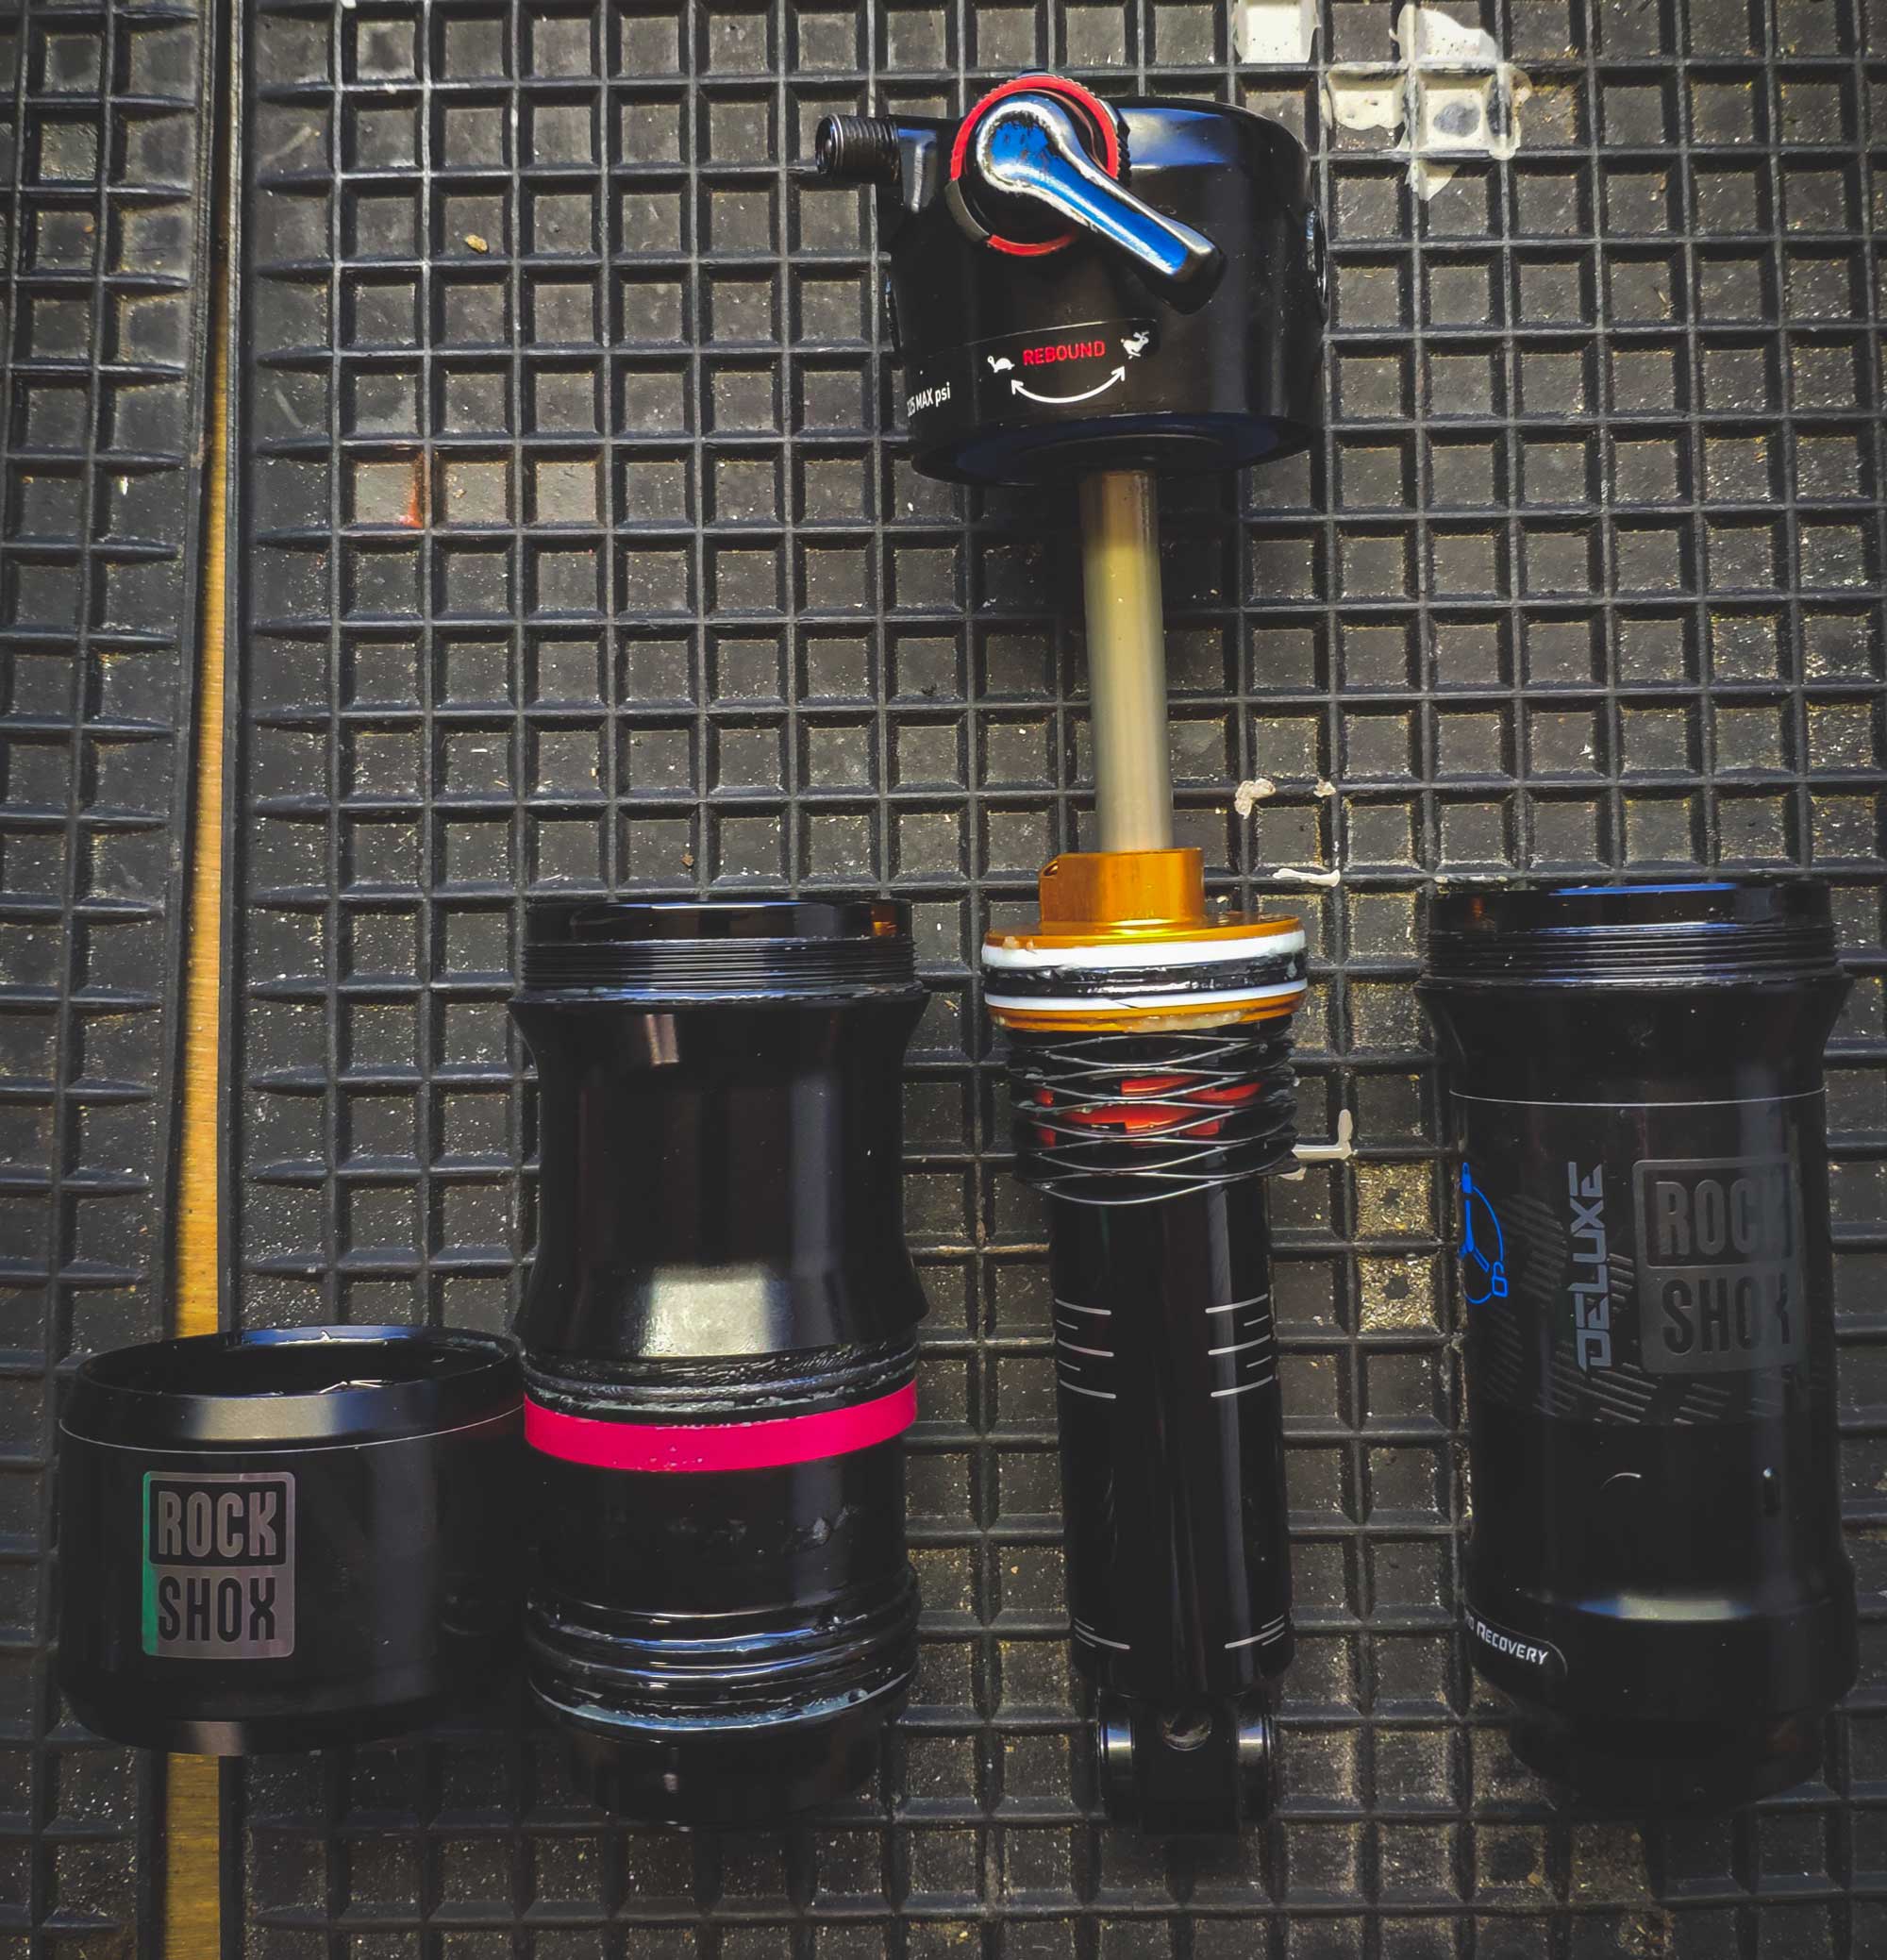
In the MegNeg kit from RockShox are four tuning bands that reduce the negative chamber’s available volume. It’s like adding tokens to the positive spring, except here the benefit is a larger amount of mid-stroke support. It does come at the cost of a slight reduction in off the top sensitivity, but the options are there!
Installation of the Rockshox MegNeg
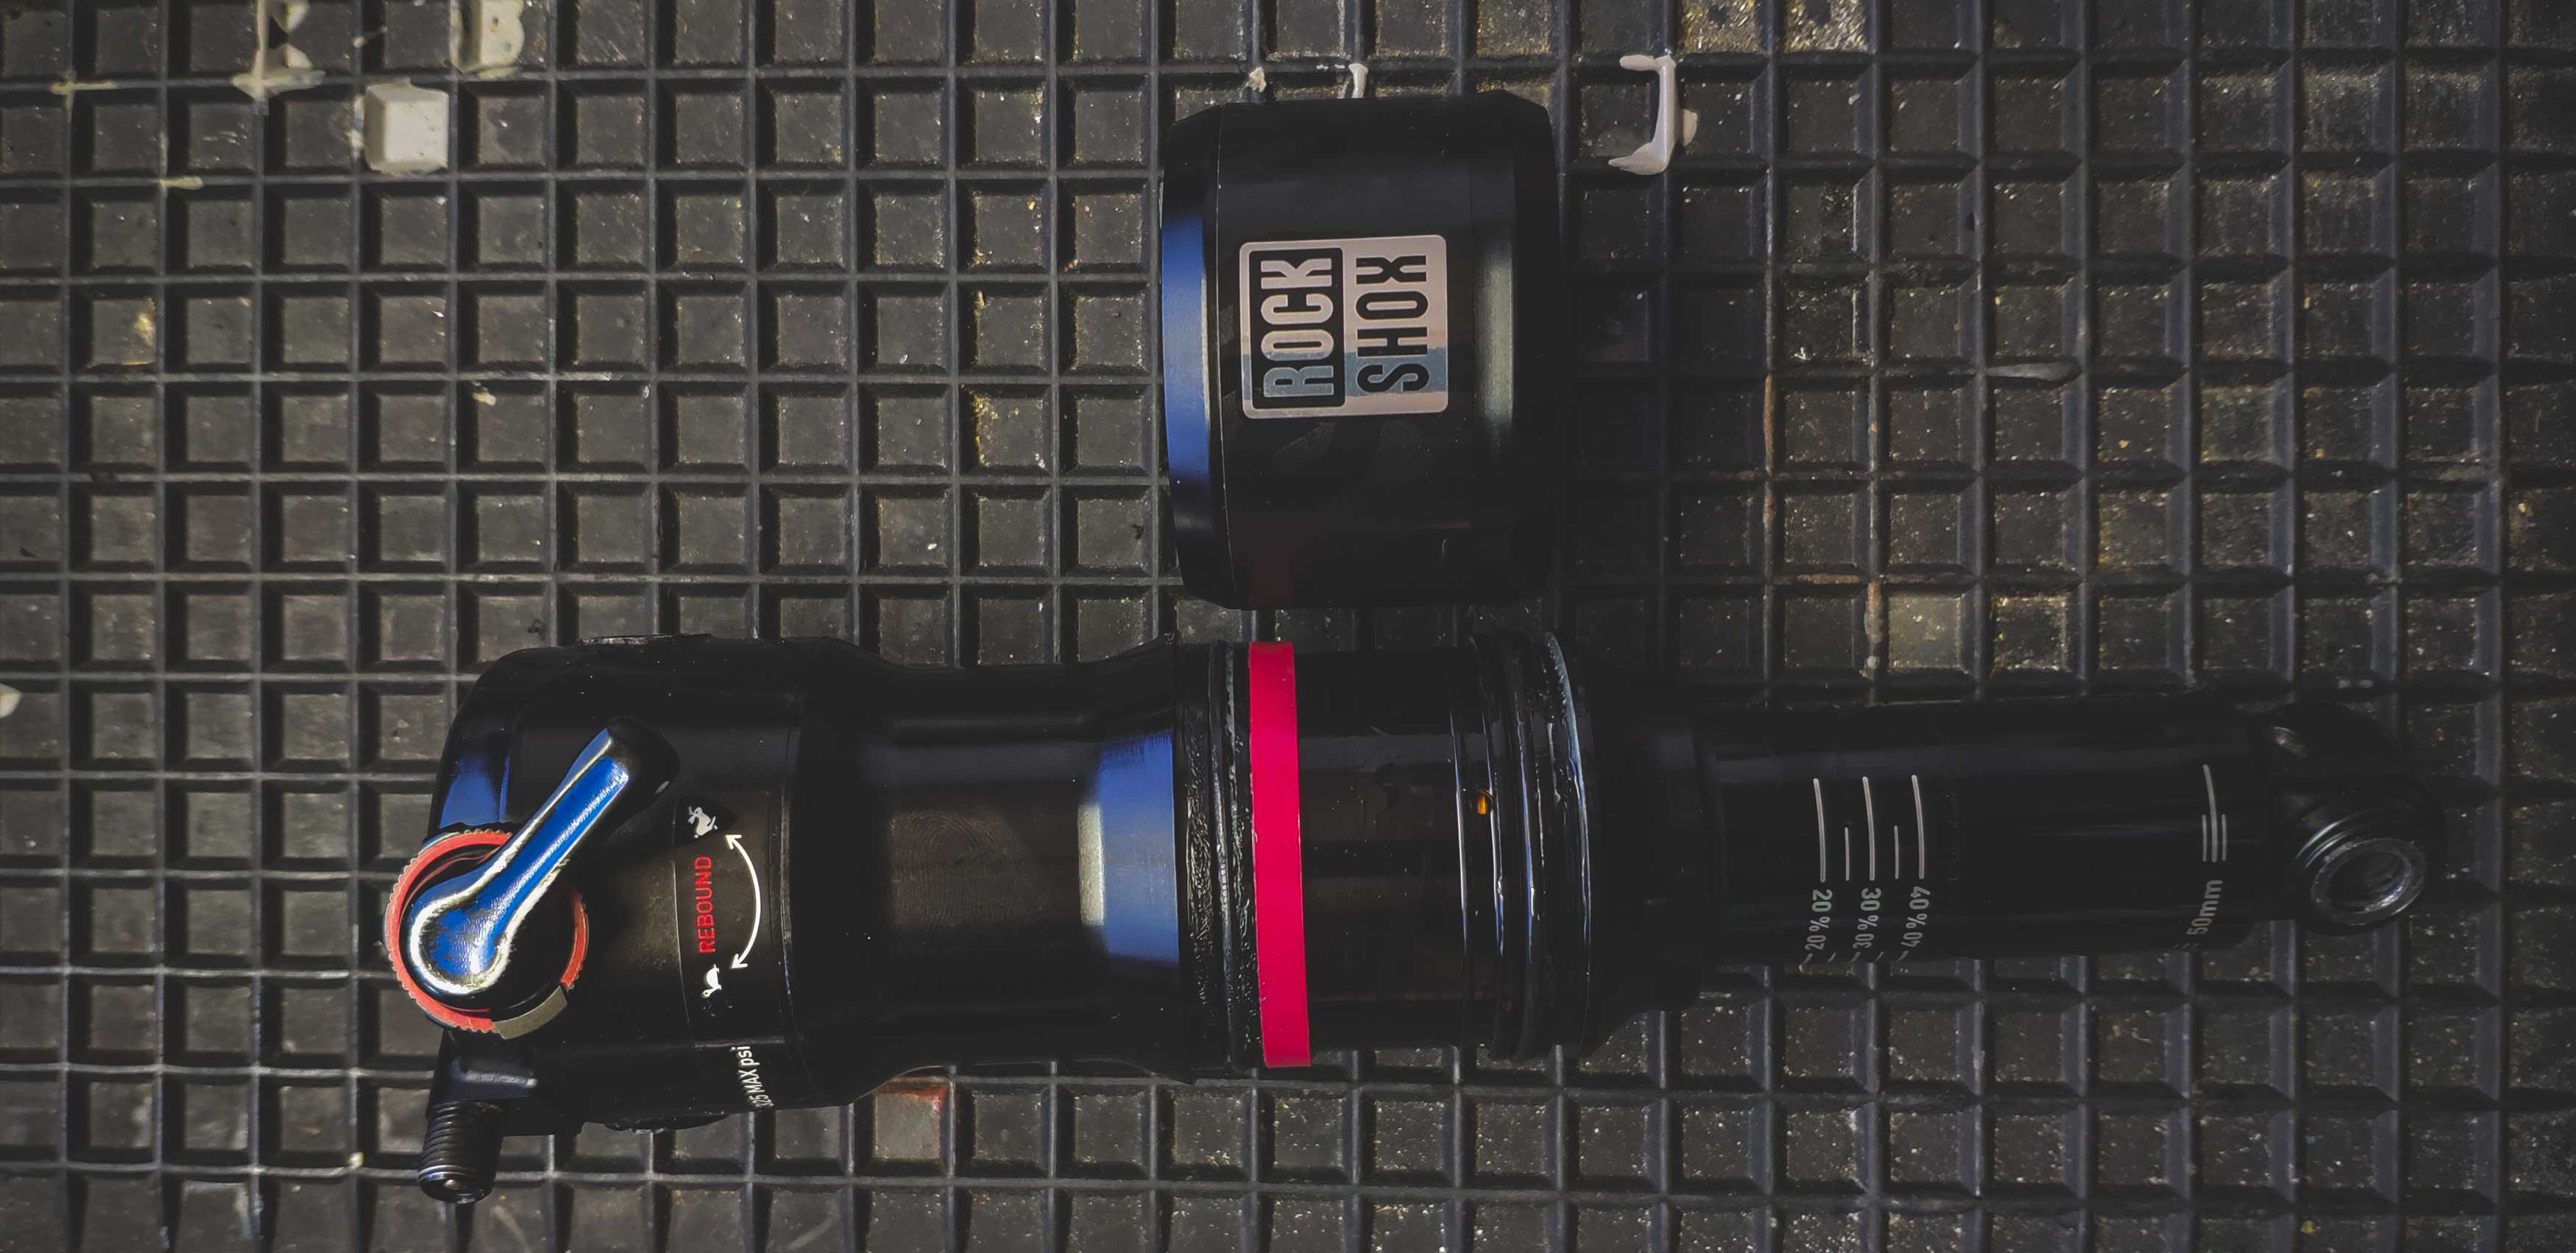
Fitting the MegNeg is a reasonably straight-forward process. If you’ve ever done an air can service on your shock in the past then the procedure is exactly the same, apart from now having a secondary can to slide onto the bottom. It’s similar to the older DebonAir which can found on the Monarch shocks. If you’re not familiar with the process, Rock Shox has a very detailed service manual on their website that you can download which goes through every step with excellent pictures and torque specs too.

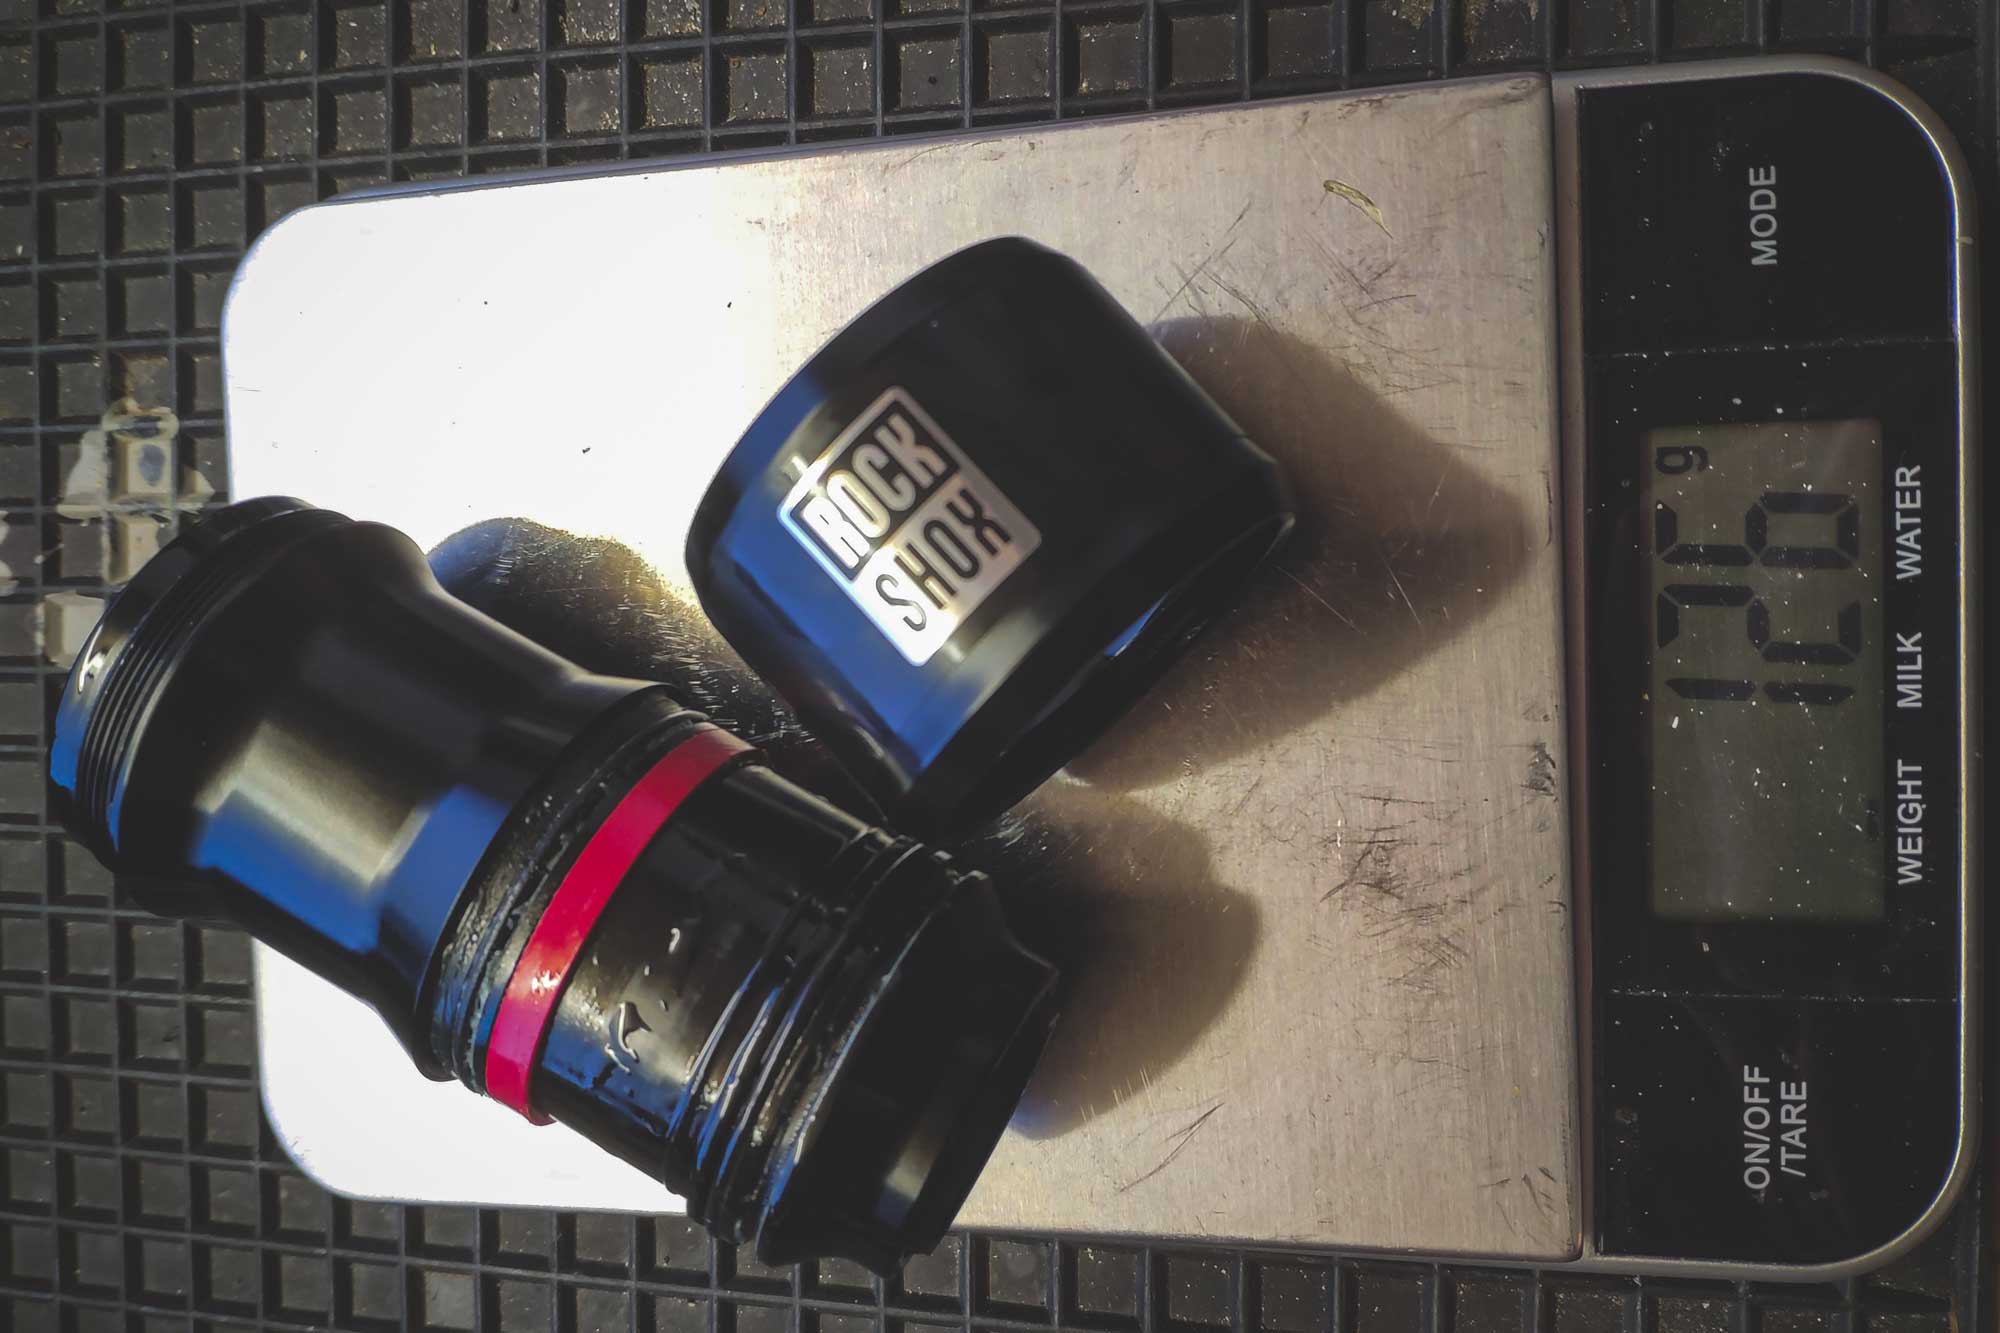
One thing I was a bit concerned about was the larger outer diameter of the can not fitting inside of my split seat tube design of the frame. For reference the MegNeg air can has an outer diameter of 57mm compared to the previous generation’s 47mm. There is also a small weight penalty of 58g between the two cans with one band installed.
There are a few recommendations from Rock Shox after installing the can. You’ll need at least 20% more pressure in the shock to obtain the same sag, one token should be removed from the main air chamber due to the can’s larger amount of progression and if you don’t know how many bands to put in the shock, it’s recommended to try two.
One of my main goals from the air can was to get my shock as soft as possible off the top, so I decided to go with 1 band in the negative chamber, I kept all my tokens in the shock (as I wanted all the progression possible) and I needed to increase my pressure by 35% to 250 psi to get my desired 25% sag.
The Dirt on RockShox MegNeg
Initial impressions after installation was the change in force required to get the shock moving. I used to run a Fox Float X2 on my previous bike and the MegNeg can is as good as the X2 in terms of off the top suppleness.
The first outing with the shock was at some local trails that I’m very familiar with, although the conditions were not ideal in Scotland after almost two weeks of heavy rain and a local XC race making sure that the trails were as slick as possible. I was genuinely surprised at how different the bike felt with the MegNeg installed. At first it seemed like the shock wasn’t moving to the contours of the trail properly almost felt over damped. I was confused however, because my rear wheel wasn’t slipping on the mud or roots, as it was offering traction in places I was sure to be sliding. The more I rode I realized the shock was walking the line of feeling both over damped and firm yet supple and providing surprisingly high traction.
Getting It Down: the MegNeg Shocks
It all began to fall into place with how the shock was behaving after a few more runs. The harshness I had initially felt was the extra mid-stroke support keeping the bike higher in the travel. I wasn’t used to the shock staying higher in the travel, leaving it ready to absorb the next hit. After accepting my bike’s performance and regularly blowing through the travel, the firm support into the midstroke through me for a loop. Within a couple runs I was smiling more and more. I started to realise that I could maintain my speed through the corners better than I assumed given the trail conditions.
After my initial ride I’ve spent some time in the Scottish Highlands riding some granite gnar. As it turns out, the recommendation to remove a token is a good one. With the full 4.5 tokens installed in the shock I limited myself to 120 of my 140 mm travel, despite some pretty massive bottom outs. Thanks to CushCore for saving my rim! I actually took time out mid-ride to remove a token and finish my testing. After removing the token I found the amount of progression was perfect for my bike. So, I’d definitely suggest doing this while installing the can and not while you’re halfway through your ride!
The Wolf’s Last Word
Suspension tuning is a finicky thing. Each frame manufacturer has a different idea of what the “ideal” kinematic should be and every rider has a different preference as to how their bike should feel under them. But after my initial ride and some epic rides in the Scottish Highlands I am completely sold on the RockShox MegNeg. The improvements it has made to my bike are very tangible and it has transformed how it performs on the descents.
The bold claims from RockShox about this little retrofit hold true. My shock is crazy supple off the top, has oodles more mid-stroke support and I finally have the right amount of progression. As much as I love this upgrade, it won’t work for every bike. I’d say the ideal candidates for this upgrade are riders of shorter travel bikes (under 150mm), those who constantly find themselves bottoming out harshly, or owners of bikes with fairly linear suspension curves. I’d especially recommend the upgrade if you have a RockShox Deluxe shock like myself! At $90 including new grease, oil, seals and tuning bands, it’s a great deal and you should get yours before they sell out.
Price: $90
Weight: 126 grams
Website: SRAM.com
Disclosure: This post contains an affiliate link (Buy now). If you buy something through Competitive Cyclist, we will get a small commission, you won’t pay a penny more, but it helps keep the lights on. Thank you for the continued support.
We Dig
Greater Tuning Options
Massive Mid-Stroke and Bottom Out Support
Price to Benefits Ratio
We Don’t
Setup Will Take Some Time
Size of Can May Not Fit All Bikes
LEAVE A COMMENT, WIN FREE SWAG!
Want to win some free schwag? Leave a comment and vote up the most thoughtful comments and each month we’ll pick a winner. The person with the smartest and most helpful replies will earn some sweet new gear. Join the Pack