BRAKING POINTS | PART THREE
EVERYTHING YOU NEED TO KNOW
ABOUT BRAKE ROTORS AND PADS
PRESENTED BY TRP
How can you get the best out of your brakes this season? While you might have some of the most powerful brakes on the market, not having the right contact between the pads and rotor can make your brakes go from being able to stop a freight train to not being able to stop at all. You shouldn’t have to be a pro to ride perfectly tuned brakes, which is why we are going to share some of our braking expertise from years of research and development with our professional athletes on World Cup tracks around the world by covering everything you need to know about disc rotors and pads in this TRP technical column.
Brake rotors are an essential component in the hydraulic equation as they provide the key point of leverage to decelerate the wheels. However, not all rotors are equal as they can differ in their manufacturing process, the cutout design, and the diameter, all of which can completely change how your brakes feel and how they end up performing.
Brake rotors start out as plates of hardened stainless steel which are then cut into those familiar circular shapes using a plasma cutter, water jet, or hydraulic press. From there, each rotor is given a centerless circular grind to sand off any burs from the cutting process. This circular grind not only flattens the surface of the rotor to ensure a consistent braking track, but it also gives the rotor a raw circular finish which allows for pad material to be transferred to the rotor during the bedding process (which we will get into later). These circular grooves cannot be cut too deep as that can cause the uneven addition of pad material onto the rotor, kind of like the way wind causes ripples in a sand dune, which can lead to shuttering and vibrations as you brake. And they cannot be cut too shallow either or there will be no frictional surface for the pads to bite into and thus no stopping power. Therefore, the manufacturing process of a rotor and the surface grind it receives is a crucial aspect of the rotor being able to hold consistent friction and operate as a lever to stop motion.

Not only does the surface grind impact a rotors performance, but the cutout design on the braking track can completely change the way a rotor operates in terms of power and cooling. For optimal performance of a brake (looking at stopping power and modulation ability only) a disc with no cutouts would actually be best as that would allow for full contact of the friction surface between the pad material and the rotor. Same as a race car, the optimal grip is from a slick tire on smooth asphalt. However, because a bicycle is not a race car and we don’t live in a perfect world, the rotor needs to deal with the issues of cooling and debris removal, along with providing ample stopping power. The cutouts are spaced so an opening passes the pad at some point during the rotation and allows for gas exchange to occur which dissipates the heat buildup along with providing a path for debris to be pulled out. If you remove too much surface area on the rotor to achieve a greater cooling ability, more surface friction between the pad and rotor is lost causing the overall reduction of deceleration. With our thicker 2.3mm rotors, cooling is not a big goal of the cutouts because the thickness allows for extra heat-capacity leaving the cutouts to be designed for maximum surface area to the pad and consistency during high intensity usage. Therefore, optimal performance of a rotor is a compromise between power and cooling, so you’ll have to decide which is more important to suit your riding style when shopping for your next set of rotors.
Another important aspect in tuning a braking system to fit your riding style is the diameter of the rotors you choose to run. With all things being equal, a larger rotor is basically a bigger lever to stop motion, AKA: more stopping power. With the hub being the center of lever rotation, say you want to run a 223 mm rotor over a 203 mm rotor, you are essentially grabbing the rotation with a 10 mm longer lever (measuring the radius rather than diameter). Therefore, a larger lever equals a larger mechanical advantage in stopping the rotation so if you are finding that your current setup is not doing the job in terms of delivering enough stopping power or modulation, experiment with increasing the size of your rotors until you feel comfortable with the leverage it provides. We recommend experimenting with rotors first as they can have a larger impact on how much power and heat management a brake can offer. Once you have selected your rotors, it is time to turn an eye towards different pad compounds and the more finite tuning options they can offer.
Pads are always going to be the cheapest and most replaceable part off any disc brake system and yet, they are the most integral part in the stopping equation as they apply the necessary friction to decelerate momentum. Made from a powdered mixture of metallic flakes and organic resin in a formula guarded closer than Coca-Cola’s, they are pressed into shape and affixed to a metal backing through high pressure bonding. Brake pads can be found in many different mixtures ranging from full resin to full metallic, offering the rider different friction coefficients and operating temperatures that can change the way a brake feels and reacts during actuation and at different points on the trail.
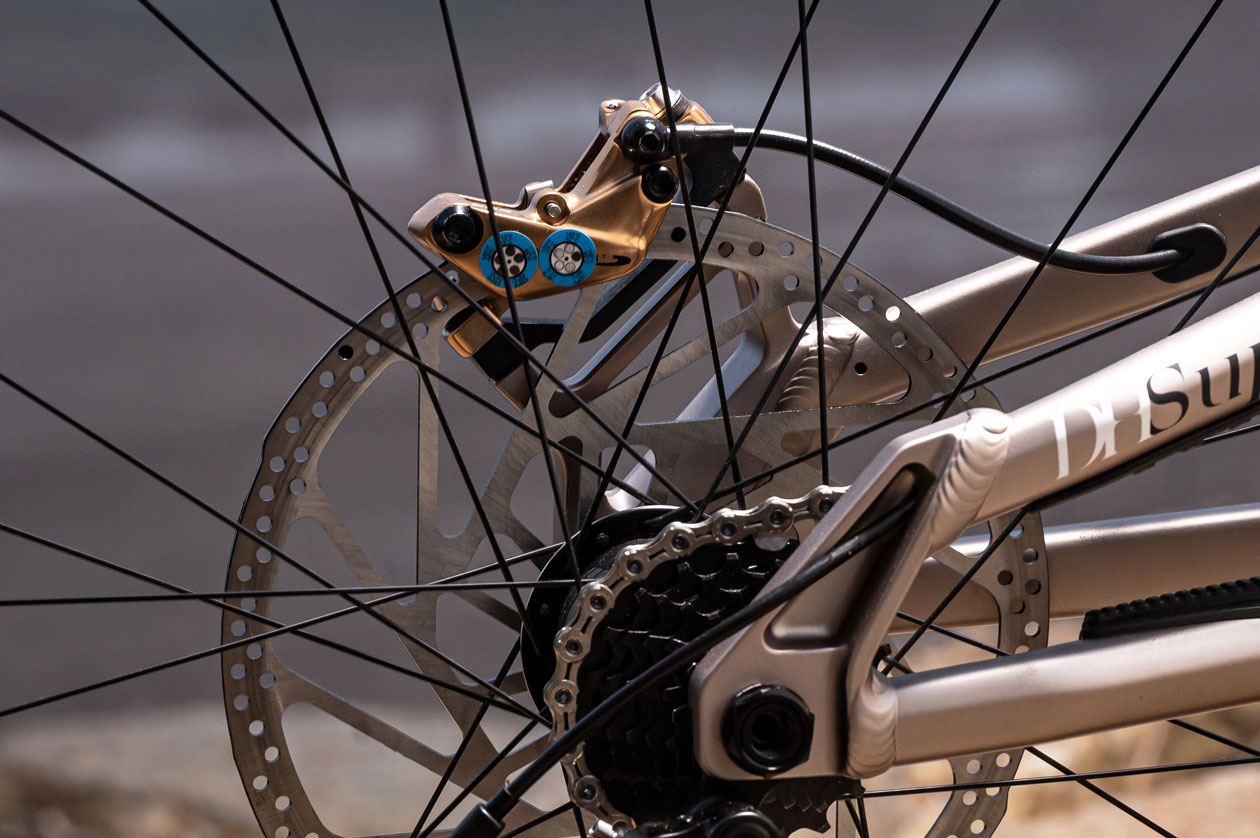
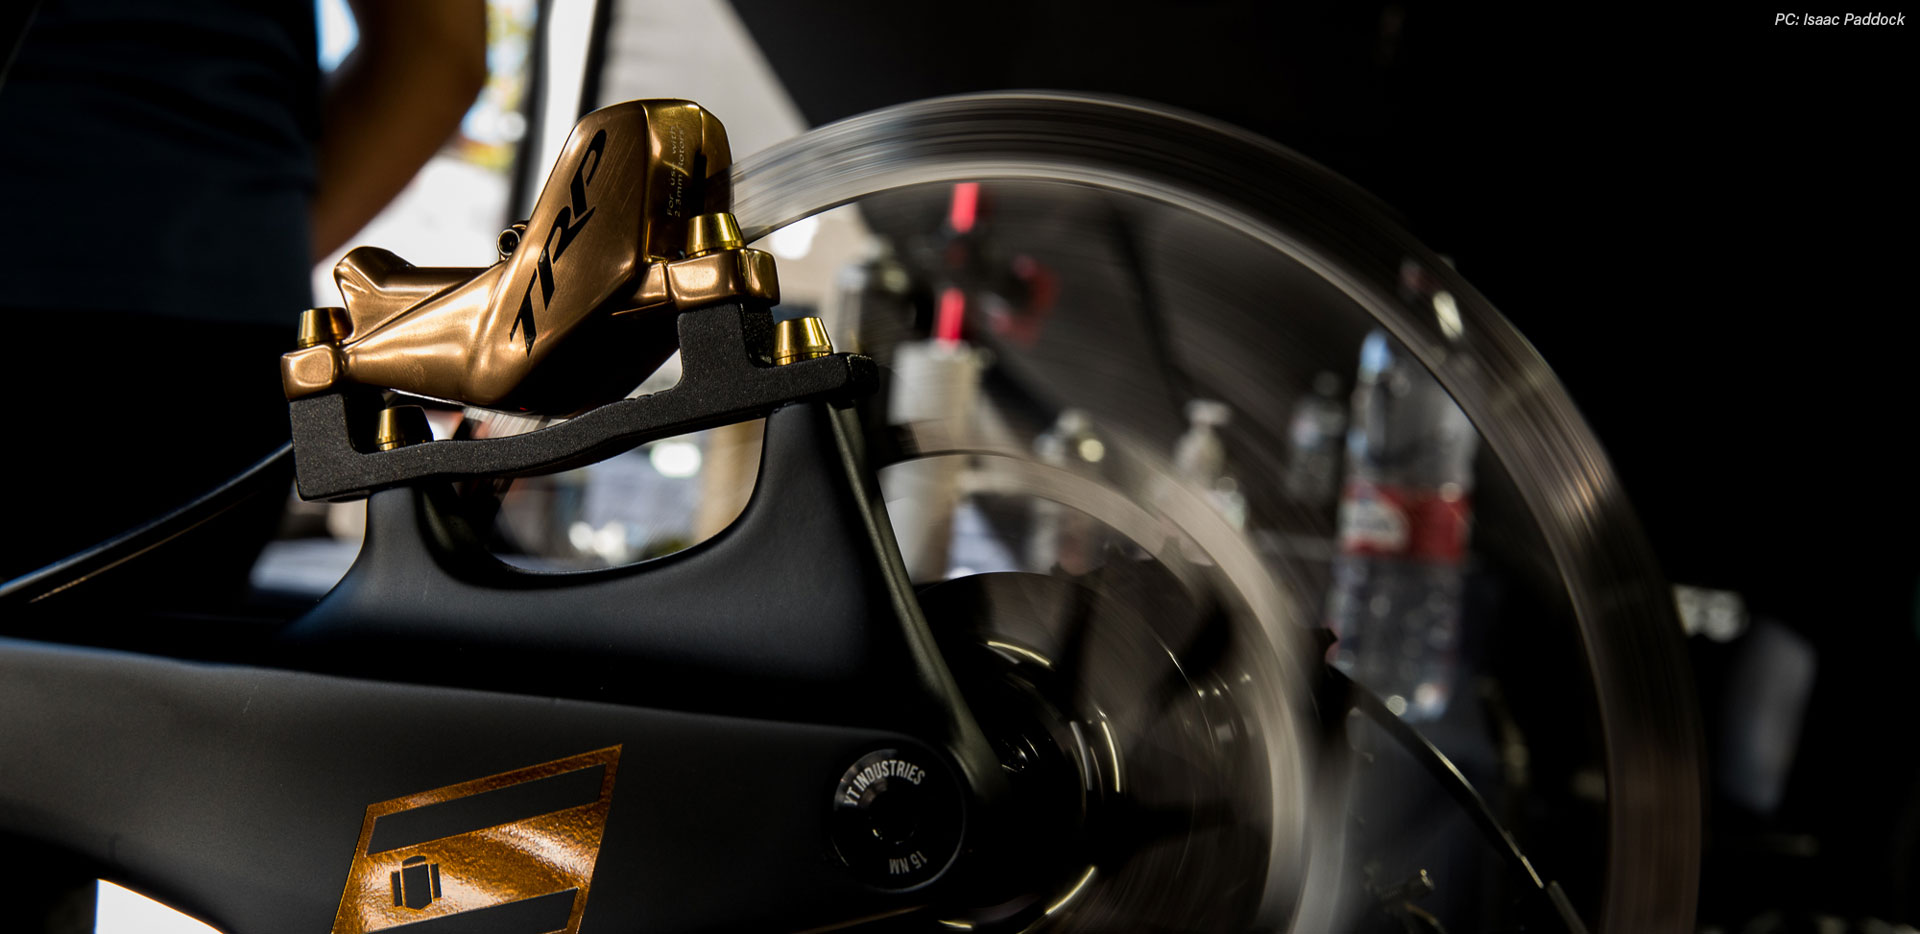
Heat sensors placed on the caliper help identify maximum operating temperatures, a very helpful data point for our laboratory engineers.
Photo: Nicolas Brizin, Commencal 100% Race Bike
When testing pads and potential mixtures with our athletes and engineers, the main aspect we focus on is heat because this is what directly influences the friction coefficient of the pads. The three temperature ranges that define the performance characteristics of a pad are the ramp-up, the sweet spot, and the falloff. During the ramp-up phase, the pad material makes its first contact with the rotor and the temperature will start to increase from the applied friction. As the temperature increases, it will hit an optimal range called the sweet spot which can vary in activation temperature from compound to compound allowing some to hit the sweet spot much quicker than other. This is where the surface of pad becomes almost sticky as it presses into the rotor giving a larger friction coefficient and more bite. When the temperature of the pad rises above this optimal point, you reach the falloff phase where the pad gets too hot, the material starts to melt (glaze), and the bite begins to diminish. Think of these three phases in terms of a sticking a piece of gum to the underside of your desk in high school. Fresh out of the wrapper it will be pretty hard to get that gum to stick. However, let it sit in the sun or give it a chew to apply some heat and you’ll likely find that it becomes much more pliable and stickier to surfaces. This is the same idea with pads. Apply the right amount of heat to activate the optimal friction coefficient of the compound and you achieve its full stopping power.
This can be demonstrated from internal testing with our DH-R EVO caliper, Performance Resin Pads, and 203/2.3 mm R1 Rotor. As you can see, after each cycle with the lever load staying at a constant 80 N, the braking power increases in accordance with the increasing temperature.
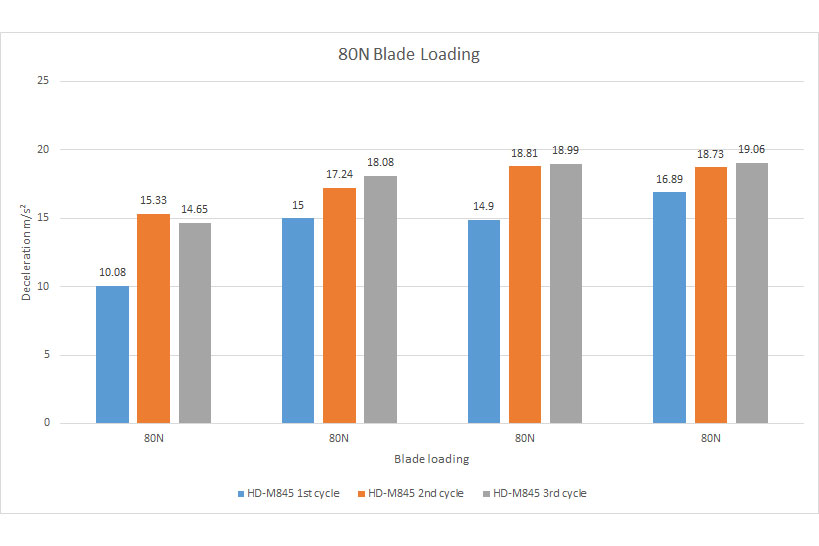
Deceleration results at a constant 80 N lever blade load after 3 cycles

Aftermath of the pads and rotors. While excessive colors may appear on the spider, the track is clear and the rotor is not warped.
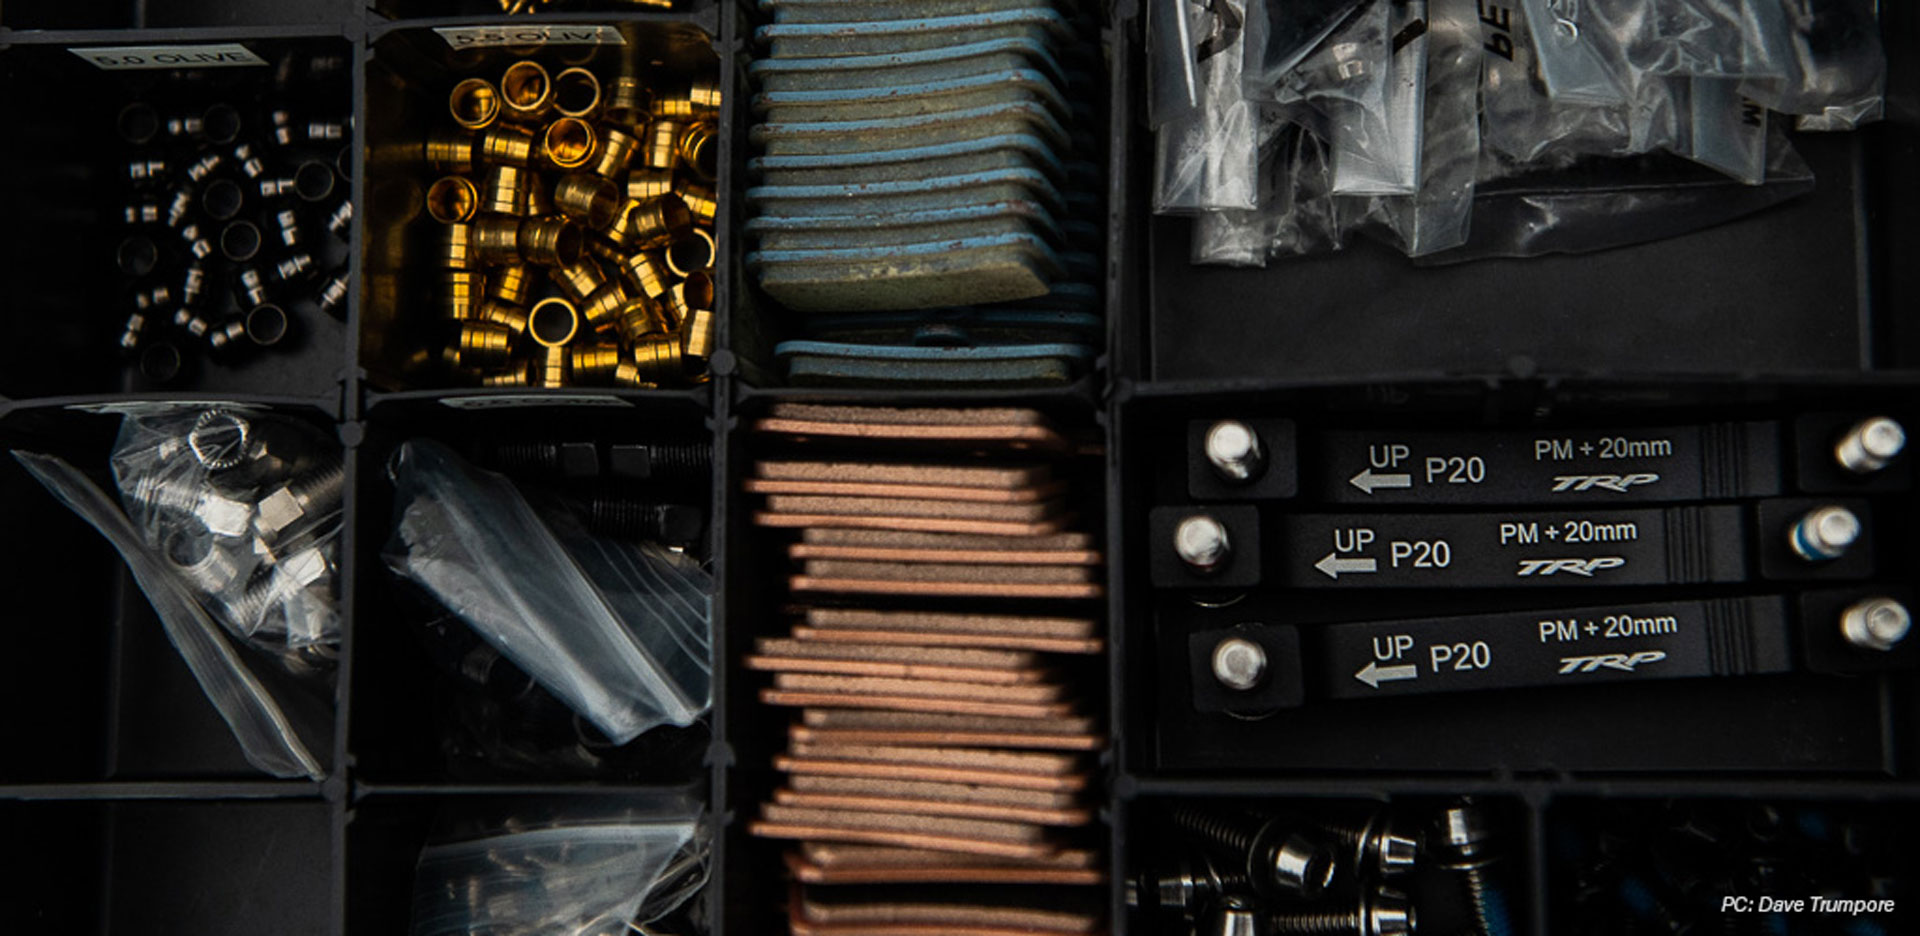
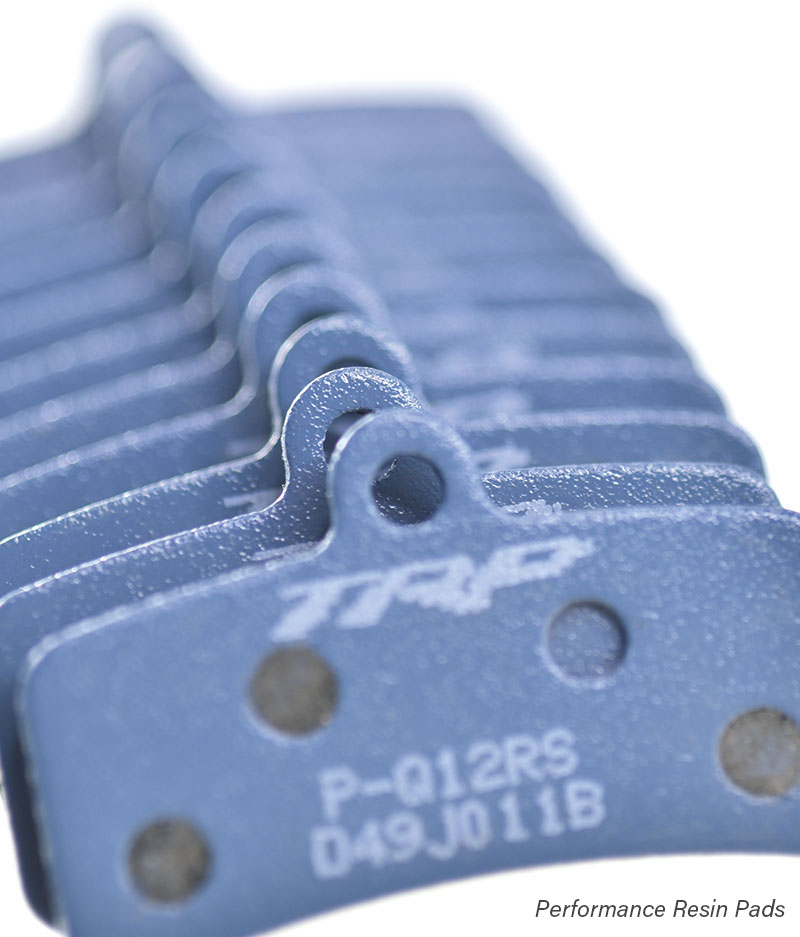
At TRP, we offer three different compounds: Performance Resin (blue), Semi-Metallic (red), and Full Sintered Metallic (copper). These compounds are listed here from softest to hardest, along with lowest activation temperature to highest. Due to the soft nature of the resin-based formula, the blue Performance Resin pads have the lowest activation temperature (highest initial friction coefficient) making them sticky right off the bat. They will bed in the quickest, they will offer the most responsiveness, and they will have the strongest initial bite which is perfect for riders looking to approach braking with a more immediate onset of power to enter braking points as late as possible (if you missed that braking point article, find it HERE). Because of this low activation temperature, these blue resin pads offer an extremely consistent feel every time you pull the lever because you don’t need to spend as much time building heat.
On the other side of the table, we have the full sintered metallic pads which have the highest activation temperature (lowest initial friction coefficient) making them an excellent choice for heavier bikes, heavier riders, and steeper trails. These pads will take longer to bed in along with taking more friction to heat up to the sweet spot. However, once that heat is built up and the activation temperature is achieved, the sweet spot can extent to higher temperature ranges before reaching the fall out point compared to the resin pads which allows for more consistency and performance at higher temperatures. If you find that you are experiencing heat fade on longer descents or substantial discoloration on the rotors of your current set-up, then it would be a good idea to swap over to metallic pads to give your system a higher-temperature range.
There are benefits and to using each compound so choosing which is right for you can sometimes be tricky. While weather can certainly play factor, it really is all about the heat being generated at the contact point that determines which pad is right for you. We always recommend starting the tuning process with a softer resin pad because it provides the best benchmark for heat and performance. This is one of the reasons why we stock all our brakes with a fresh set of performance resin pads. Once you begin to find their limits, try swapping to a metallic set on the rear for more draggability, or a set of metallics all around for that larger temperature range. Either way, just realize that heat is going to be the main influence in how they react and ultimately, how they feel from the first pull of the lever.
So, you have your chosen rotors and pads installed on your bike and you are ready to ride, but there is one absolutely crucial step before taking that first drop and that is bedding the pads into the rotors. This is the process of transferring material from the pad onto the rotors in an even fashion to create a specific footprint of striations along the track of the rotor that reflects the pores of the pad compound. This allows the pad to fit perfectly within these striations on the rotor and have full frictional surface area contact offering the most stopping power and the least vibration. If a pad is not bedded into a rotor before beginning a ride, the pad will not have the necessary surface friction to decelerate the system and as the heat between the two surfaces increase, the sweet spot will be quickly overcome, and the pad will reach the fall out point. This can cause the surface of the pad to melt slightly, turning it into a smooth surface rather than its normal porous one. This is known as glazing and it basically takes away the pads ability to bite into the rotor causing low friction (low stopping power) heavy vibrations, and in most cases, screeching noises. To avoid these problems all together and keep your brake performing perfectly for the life of the pads, bedding needs to be done every time you introduce new pads, new rotors, or if you are swapping pads between the front and the rear.
The process for bedding is simple and it can be done pretty much anywhere you have consistent grip on your tires. Ideally, you are looking for a long stretch of asphalt or concrete that is flat or has a slight downhill grade to help carry momentum. Make sure you are applying enough pressure on the brakes to consistently slow the wheels without locking the brakes up or coming to a complete stop. The goal of this being to lay down pad material onto the rotor in a consistent and even manner.
Once you have your chosen location, follow the steps below for the perfect bed:
- For new Performance Resin pads and new rotors:
- Step 1: Shift bike into a climbing gear while bike is in stand. On flat ground, pedal bike while dragging both front and rear brakes at constant pressure for 5 minutes. Do not lock brakes. This will lay an initial material down. It will also give you a nice workout. They should start to get progressively stickier as you drag them.
- Step 2: 5-7 rolling stops going from 15 mph down to 5 mph on the front brake only.
- Step 3: 5-7 rolling stops going from 15 mph down to 5 mph on the rear brake only.
- Step 4: 3-5 rolling stops going from 20 mph down to 5 mph while pulling both brakes.
- Step 5: Go ride!
- For new Sintered Metallic pads and new rotors:
- Step 1: Shift bike into a climbing gear while bike is in stand. On flat ground, pedal bike while dragging both front and rear brakes at light pressure for 5 minutes. Do not lock brakes. Repeat the process with a heavier pressure for 2-3 minutes. Do not lock brakes.
- Step 2: 7-10 rolling stops going from 15 mph down to 5 mph on the front brake only.
- Step 3: 7-10 rolling stops going from 15 mph down to 5 mph on the rear brake only.
- Step 4: 5-7 rolling stops going from 20 mph down to 5 mph while pulling both brakes.
- Step 5: Go ride! The brakes will likely take 1-2 rides to completely bed in.
- For new Performance Resin pads on a used rotor:
- Step 1: 3-5 rolling stops going from 15 mph down to 5 mph on the front brake only.
- Step 2: 3-5 rolling stops going from 15 mph down to 5 mph on the rear brake only.
- Step 3: 1-2 rolling stops going from 20 mph down to 5 mph while pulling both brakes.
- Step 4: Go ride!
- For new Sintered Metallic pads on a used rotor:
- Step 1: 7-10 rolling stops going from 15 mph down to 5 mph on the front brake only.
- Step 2: 7-10 rolling stops going from 15 mph down to 5 mph on the rear brake only.
- Step 3: 5-7 rolling stops going from 20 mph down to 5 mph while pulling both brakes.
- Step 4: Go ride! The brakes will likely take 1-2 rides to completely bed in.
**AVOID LOCKING OF BRAKES ON BEDDING-IN PROCESS OR ON THE FIRST RIDE**
You’ll know you are done bedding your brakes in when you feel a consistent bite and you can see a nice striated and semi-polished track on your rotor. Once you feel and see this, you will be getting the best out of your system.
The more in tune you are with what’s going on between your rotors and pads, the better your brakes will perform. But the process doesn’t just stop with choosing and bedding, check back next week for some tips and best practices on maintaining, cleaning, and traveling with your brakes to keep them primed for the trails ahead.
Stay tuned for Part 4 where we cover the Cleaning and Replacing parts on your brakes for the best performance.
