

EXPOSURE
The DJI Osmo Action 5 Pro out of the box is by far my favorite action camera to date; you can leave it in auto and never think about it. But if you take a little more time to set the camera up, you will squeeze out the maximum potential of this little camera. Keep reading to understand why I use each setting or skip past the paragraph for my go-to settings.
FPS
To start, I always shoot in 30fps, while some may say 24fps is better as it gives more motion blur, I prefer a bit sharper look to my footage. 30fps, for me, is a better replication of what my eyes see when on the trail.
SHUTTER SPEED
When it comes to shutter speed, I love that the Action 5 Pro gives you a range with a minimum and maximum amount. In brighter conditions, I will opt for the 1/400 – 1/18000, and in darker conditions, I will drop the minimum to 1/200. Not allowing the shutter to dip below 1/200 or 1/400 allows the camera’s digital stabilization to have more data to work with, resulting in a less shaky video.
ISO
When it comes to the ISO, in most conditions, I have it set to 100-1600, and if we are deep in the woods late in the day, I will bump this to 100-3200. In very few extreme cases, I will use 100-6400, but it needs to be VERY dark. For 90% of the shots I use, I am generally at 1/400 and 100-1600.

EXPOSURE VALUE
Lastly, there is EV, EV, or Exposure Value, which is how the camera reads the incoming light to the sensor. In bright shooting conditions, I run -0.7, and if we are under the trees, I opt for -0.3. This tells the camera to underexpose the image using a combination of a higher shutter and lower ISO, resulting in an image that is less blown out. Action cameras typically like to overexpose for the dark portions in the image leaving the highlights overly bright, and these EV values help to prevent it.
NOISE REDUCTION
Lastly, I have the noise reduction set to -2. This tells the camera to use less digital noise reduction. Under the very dark condition settings I will bump this to -1, but 99% of the time it is left at -2. I think this is one of the least noticeable settings and for most people could be left alone but again I am trying to squeeze every little bit of performance out of the camera.
DJI ACTION 5 SETTINGS UNDER DIFFERENT CONDITIONS:
Normal Conditions:
Mixed in and out of the trees
1/400 – 1/8000
100 – 1600
-0.7 EV
-2 Noise Reduction
Darker Conditions:
Fully in the trees
1/200 – 1/8000
100-1600
-0.3 EV
-2 Noise Reduction
Very Dark Conditions:
Almost Night
1/200 – 1/8000
100 – 3200
+0.0 EV
-1 Noise Reduction

COLOR PROFILE
I run the Action 5 Pro in the 10-Bit D-Log color profile. This produces a flat, boring-looking video straight out of the camera, but in post-production and using DJI’s conversion LUT, it comes back to a “normal” looking image with just one click. I use this to maximize the quality of my end product, but the standard color profile does a great job as well. If you want the easiest no-fuss option the standard 10-bit is still great.
Editing the exposure and color within the DJI Mimo App is pretty painless, and anyone even with no experience can get the hang of it quickly. I also run the “Texture” at -2, this setting tells the camera to add less digital sharpness to the image while recording. Generally, these cameras are already pretty digitally sharp, so I find that having this at -2 feels more like real life. This can always be added after filming within the Memo App or your editing software of choice.
STABILIZATION
No matter the lens combination, I prefer Rock Steady over Rock Steady+ as it gives you a much wider field of view. RS+ can be good for the chest mount if you are riding super rough terrain, but it is much more important to make sure you double-check the angle of the camera, as that FOV is significantly smaller than you get with standard RS.
LENS OPTION
The stock or standard lens option on the DJI Action 5 Pro produces a 155º field of view, which for the chest mount works fine, and even for the chin mount it is perfectly acceptable. It produces a maximum focal length of 24 mm, and a minimum of 8.5mm. I prefer to see as much of the bike as possible in videos, which is where the Boost Lens comes into play. The Boost Lens increases your FOV to a whopping 182º! This gives you not only more room to work with when it comes to framing the shot, but also shows a lot more of what you are doing on the bike. This is by far my preferred lens choice, regardless of what mounting location I use.
BEST CAMERA MOUNTING OPTIONS FOR MTB
Ok, let’s take a look at some screenshots from the video to quickly compare angles!


UNDER VISOR MOUNT
What I like about this is that you can wear a half-shell helmet and forget the camera is even there. What I do not like is how much perspective of speed you lose, as well as the flattening of the trail is most notable with this angle.
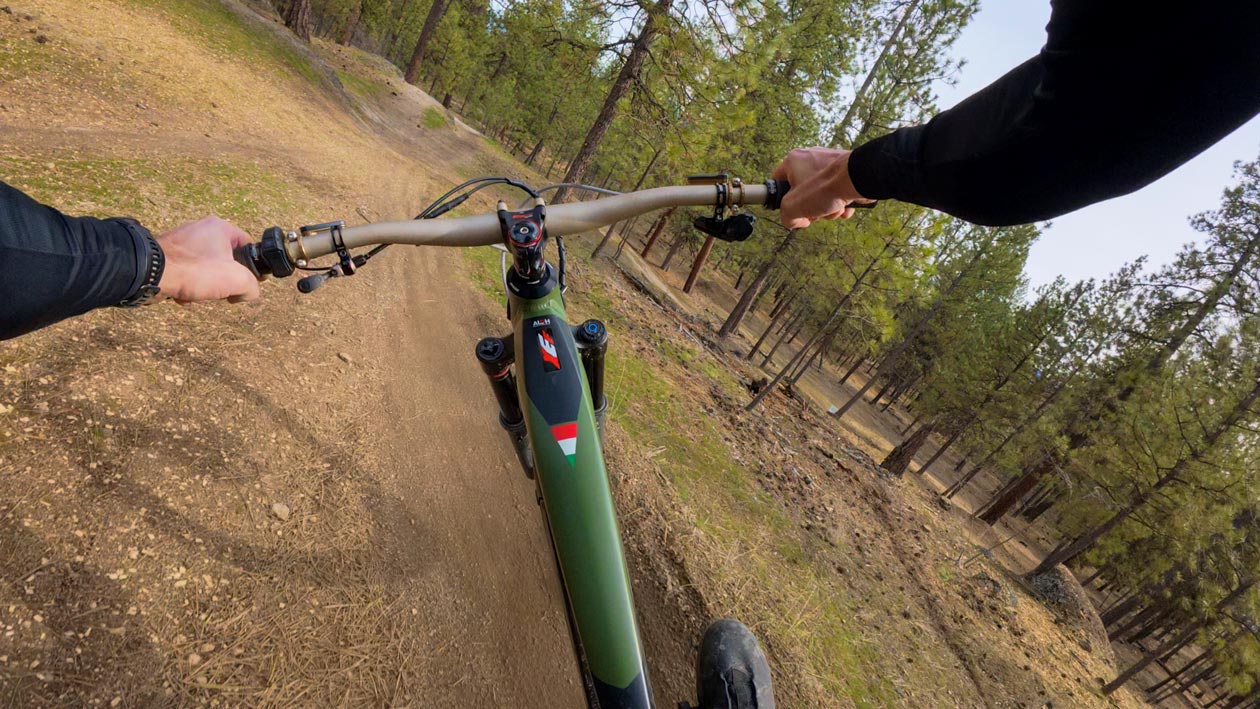
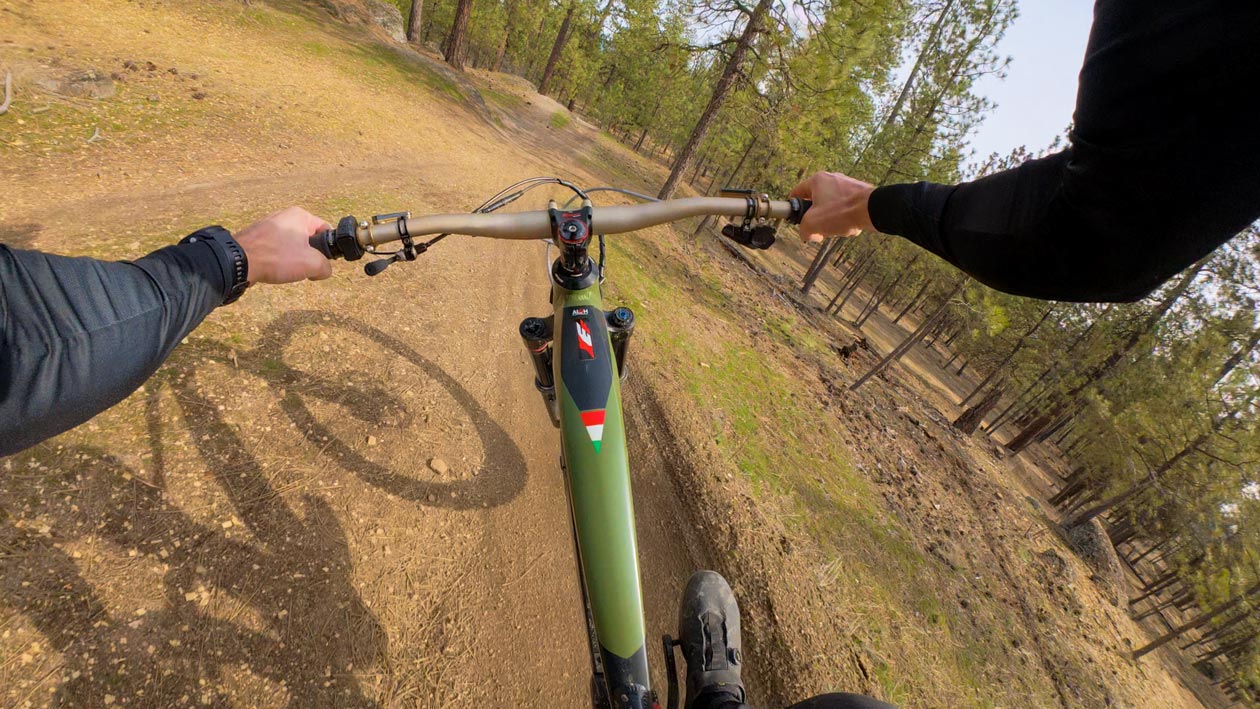
CHEST MOUNT
This is the most widely used angle for good reason; it shows the bike well and gives a solid perspective of how steep the terrain is as well as speed. The downside is you must wear the chest mount at all times, which can be annoying and uncomfortable on long days. And when the terrain gets rough, you can get a fair amount of camera shake.
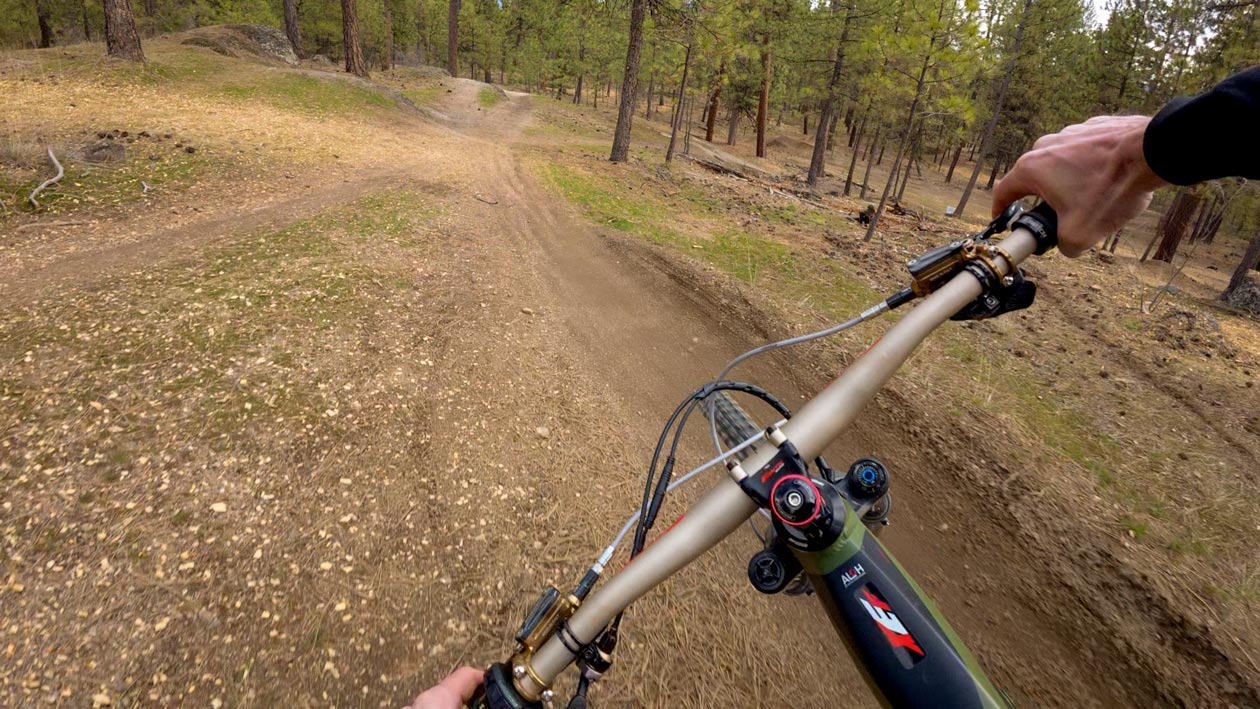
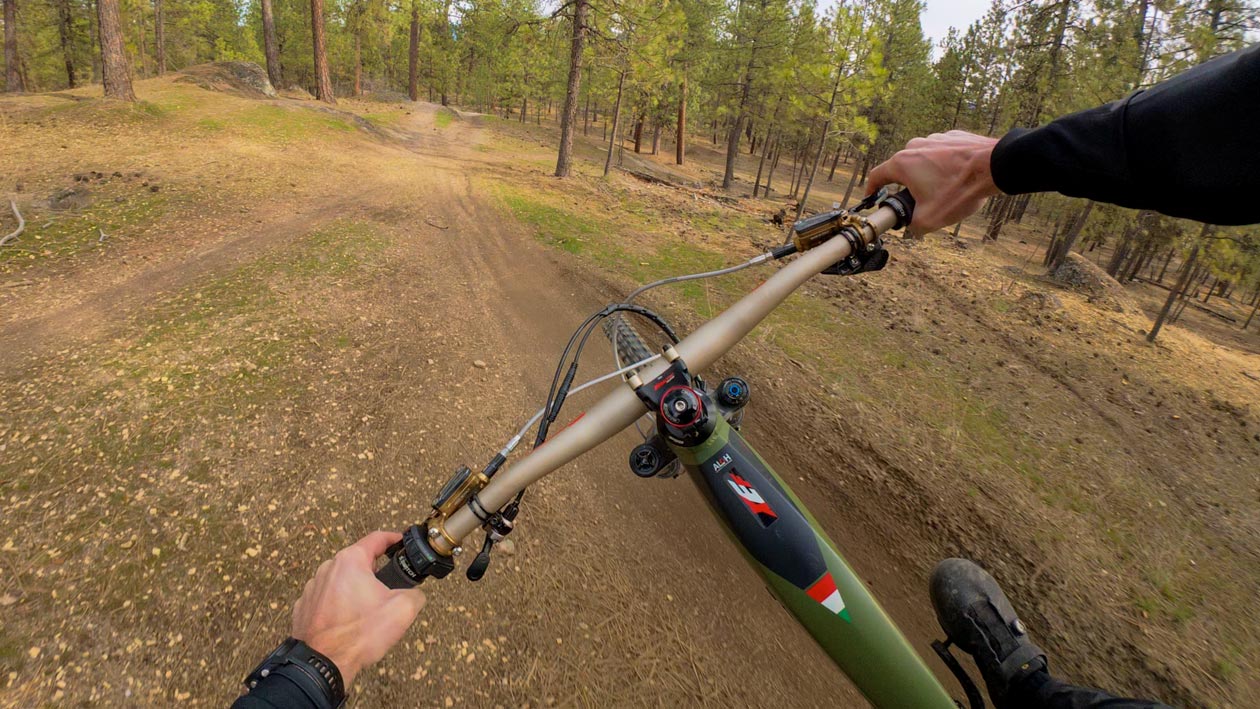
CHIN MOUNT
This location has become increasingly popular over the past few years. This produces a super stable image that gives the closest feel to being the rider. With the Boost Lens option, you get a great balance of the bike handlebar and the terrain coming up in view. As far as downsides go the only thing I can think of is needing to have and use a full-face helmet which can be quite warm in the middle of summer.
The Wolf’s Last Word
At the end of the day for me, there is a clear winner as to what my favorite is, which is the Chin Mount with the Boost Lens. This gives me the perspective that most closely reflects riding the bike, while remaining extremely stable in all conditions. While it may be annoying for some to use a full-face helmet all the time, there is something to be said for the extra protection that comes with them. The Boost lens is a must-have for this angle in my opinion. While it may not be perfect for use in social media, with the camera mounted horizontally I think it is still perfectly acceptable.
I hope this helps you narrow down your settings and favorite mounting location! ![]()
PRICE
Camera $329 | DJI.com/osmo-action-5-pro
Boost Lens $59: DJI.com
SHARE THIS REVIEW
SUPPORT AND JOIN THE LOAM WOLF PACK
Did you find this review helpful? Would you like the chance to review (and keep) products? Are you interested in saving big bucks by getting exclusive Members Only discounts from industry brands all while helping support a small, rider-owned media crew? We have big plans for our members beyond big discounts and product giveaways! To learn more and help support small, independent media, visit our Member’s Page.